BRAKE PAD REPLACEMENT
On my VW Polo 2.0L Highline each brake caliper is secured with only 2 bolts and I'm almost sure that goes for most other VW, Audi, Skoda and Seat vehicles too. The tools required is a 18 mm socket and a power bar, a jack, 2 jack stands and a wheel brace. Ok, perhaps a large hefty screwdriver with which to prize open the brake piston completely.
 |
| The brake pad wear light is clearly visible right in the center of the instrument cluster. |
When my dash light came on I knew I only had 2 mm of brake lining left because the last time I fooled around with my VCDS software and my "Dual-K plus CAN interface cable", I specifically selected 2 mm before the warning is sounded. Anyway when the brake pad replacement light went on, I made my way to the VW service agents to get a set of brake pads because I was going to replace them myself. As can be seen in the image below the brakes are genuine Volkswagen Brake pads made in India for VW, SEAT, and SKODA.
 |
| Genuine Volkswagen Brake Pads for 2.0L vehicles |
 |
| The incorrect brake pads for a VW Polo 2.0L Highline |
They weren't too expensive and considering what they do, they are actually worth every cent. The spares agent supplied the "correct brake pads" for a VW Polo 2.0L Highline and when I opened the box back home, I was convince they were the ones I needed because the brake pad box listed several other 2.0L VW vehicles amonst which are New Beetle / Cabrio 1998 - ...., Bora / Variant / 4 Motion 1997 - ..., Caddy 2004 - ..., Golf / Variant / 4 Motion 1997 - ..., Golf Plus 2005 - ..., Jetta 2005 - ..., Polo 2001 - ..., Polo Limousine (Stufenheck) 1996 - ..., Seat Altea 2004 - ..., Seat Ibiza 2002 - ..., Seat Leon 2000 - ..., Seat Toledo 1999 - ..., Skoda Fabia 2000 - ..., Skoda Roomster 2005 - ..., Skoda Octavia 1999 - ...
I was always under the impression that the Skoda Octavia was the same as a VW Polo GTI hence I figured the brakes were the correct ones but I was mistaken. As luck would have it, when I stripped out the worn front brake pads they were completely different from the the new brake pads that I just bought.
 |
| Worn brake pads with slightly less than 2 mm of bonding left. |
 |
| The correct brake pads after the exchange |
 |
| The correct Brake Pads for the VW Polo 2.0L highline |
 |
| The correct brake pads with the sensor connector in the foreground |
 |
| The three pads without brake pad thickness sensors. |
 |
| The worn brake pad before it was removed |
 |
| The caliper removed with excess dust removed. |
 |
| The brake pad piston fully retracted with the anti rotating plate in place. |
 |
| Resting the Caliper on top of the disc is quite convenient to fit the brake pads |
 |
| The 2 new brake pads positioned in their grooved spring clips with sensor wire visible |
 |
| New brake pads after it was fitted |
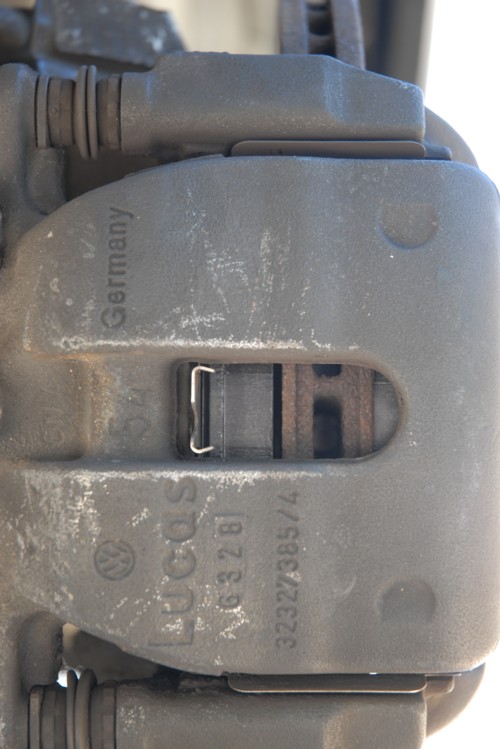 |
| The new brake pad is clearly visible through the vent in the caliper |
any chance you have the wiring diagram for the brake pad to the instrument cluster. I have new pads and checked the connections at the pads end and all fine but I get intermittent brake light come on on dash.
ReplyDeleteI would like to say that this blog really convinced me to do it! Thanks, very good post. brakepadblog.com
ReplyDeleteI ask one question polo break pad conected the censor?
ReplyDeleteCould some one let me know what tool is used to remove the bolt in Vw Polo.thanx
ReplyDeleteSori it is the bolt for brake caliper.
ReplyDelete